8 minute read
A Two-Hour Weekend Meal Prep Plan That Stays Realistic
Run a realistic two-hour weekend meal prep with a task sequence, shared components, oven and stovetop lanes, cooling, storage, and cleanup.

A useful weekend prep session removes friction from the week without consuming the entire day. The best two-hour plan prioritizes components used in several meals, sequences equipment so the oven and stovetop are not competing, and reserves time for cooling, labeling, and cleanup. Finishing fewer high-value tasks is better than leaving ten ambitious projects half complete.
You will leave the session with flexible cooked components, prepared produce or snacks, clear storage labels, and a kitchen that is ready for the next meal. This guide turns that outcome into a repeatable paper workflow rather than a perfect menu that only works once. Start with the information you already have, make the few decisions that reduce the most friction, and leave visible room for the week to change.
Select high-value tasks from the actual menu
Meal prep becomes performative when tasks are chosen because they look organized rather than because the week needs them. Every task should support a named meal or rushed moment. Review the menu and identify repeated chopping, long cooking, packing, or decision points. Rank tasks by how many future meals they help and how difficult they are on weekdays.
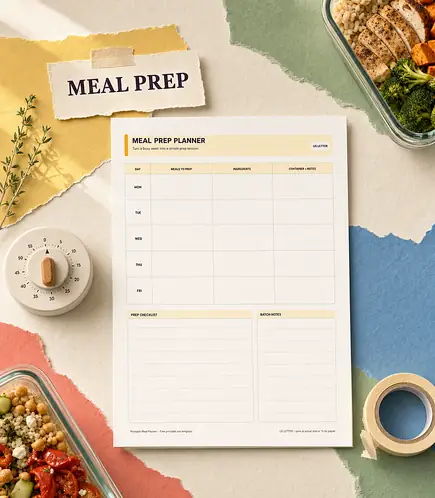
For example, cooking one grain used in three meals has more value than decorating seven snack containers nobody requested. On your planner, write the supported meals beside each prep task and keep only the strongest five to eight tasks. Review that note at the end of the week so the next plan reflects what actually happened rather than what you hoped would happen.
- Prioritize repeated components.
- Include breakfasts or lunches when they create more benefit.
- Delete tasks based only on aspiration.
Start long unattended cooking first
Oven preheating, grains, legumes, and some proteins create waiting time that can overlap with other work. Starting them late wastes the session. Preheat, begin the longest safe cooking task, and set clear timers before washing or chopping produce. Keep raw and ready-to-eat preparation safely separated.
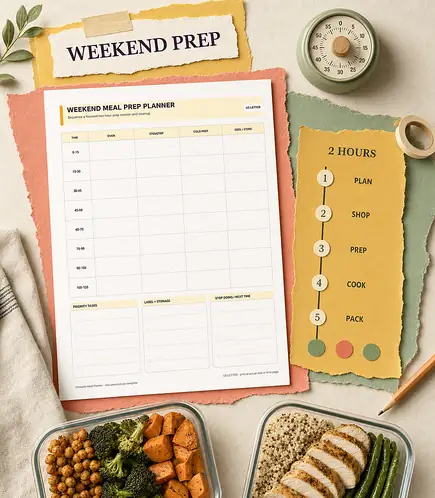
For example, start a grain and a tray of vegetables, then prepare cold components while both cook. On your planner, place start and finish times in the first timeline lane. Review that note at the end of the week so the next plan reflects what actually happened rather than what you hoped would happen.
- Confirm cooking times before beginning.
- Use separate tools where food safety requires it.
- Set timers that can be heard outside the kitchen.
Batch similar knife and equipment work
Repeated setup and cleanup consume more time than many individual tasks. Grouping jobs reduces transitions and keeps the workspace clearer. Wash suitable produce together, chop oven vegetables in one sequence, then clean the area before moving to ready-to-eat food. Group blender, mixer, or food-processor tasks when practical.
For example, chop carrots, peppers, and broccoli for roasting before switching to fruit or salad preparation. On your planner, organize tasks by equipment lane rather than recipe order. Review that note at the end of the week so the next plan reflects what actually happened rather than what you hoped would happen.
- Keep cross-contamination controls in place.
- Use bowls to collect components by destination.
- Clean between incompatible tasks.
Prepare flexible components, not seven finished meals
Fully assembled meals can lose quality and force the week to follow one sequence. Components preserve more choice and often store better. Prepare a base, protein or satisfying component, vegetables, and one or two sauces separately. Assemble only the meals that benefit from advance assembly.
For example, rice, roasted vegetables, beans or chicken, and two sauces can become bowls, wraps, sides, or a skillet meal. On your planner, list at least two uses beside each major component. Review that note at the end of the week so the next plan reflects what actually happened rather than what you hoped would happen.
- Keep wet and crisp elements separate.
- Use neutral seasoning on one flexible component.
- Assemble early-week meals first when needed.
Protect time for cooling, labeling, and storage
Cooked food is not finished when the heat turns off. Unsafe cooling, unclear containers, and an overcrowded refrigerator can undo the value of the session. Stop active cooking early enough to cool and package food appropriately. Use shallow containers where suitable, label contents and intended use, and follow local food-safety guidance.
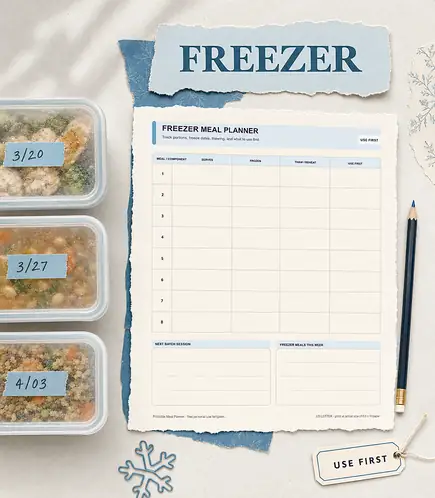
For example, a container labeled rice, Tuesday bowls, made Sunday is more useful than an unmarked box pushed behind other food. On your planner, reserve the final thirty minutes of the timeline for storage and cleanup. Review that note at the end of the week so the next plan reflects what actually happened rather than what you hoped would happen.
- Do not leave cooked food out for extended periods.
- Match container size to portions.
- Place early-week food where it is visible.
End with a stop-doing review
Without review, prep sessions tend to grow until they become exhausting. Removing low-value work is part of improving the system. Note which task saved time, which created too much cleanup, and which prepared food was not used. Reduce the next session before adding anything new.
For example, preparing a sauce may help four meals, while pre-slicing delicate fruit may reduce quality and provide little benefit. On your planner, keep one repeat, one revise, and one stop-doing note on the next prep sheet. Review that note at the end of the week so the next plan reflects what actually happened rather than what you hoped would happen.
- Measure weekday benefit, not container count.
- Retain tasks the household actually uses.
- Shorten the session when fewer tasks produce the same value.
Make the plan work for you
A two-hour prep session needs an ending as much as a beginning. Choose tasks from the menu, overlap unattended cooking, preserve flexibility, and stop active work early enough to store food and restore the kitchen. Begin with this one action: review the weekly menu, choose the five tasks that save the most weekday effort, and remove any task that supports only one low-priority meal Keep the completed sheet where you will see it, make one adjustment after the week is over, and reuse the parts that genuinely saved time, money, or attention.