8 minute read
Freezer Meal Planning: Build an Inventory You Will Use
Create a freezer meal inventory that tracks portions, freeze dates, thawing, weekly use, and batch-cooking deposits without losing meals.

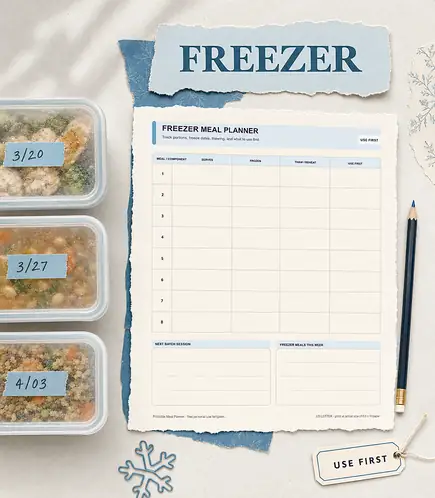
A freezer saves time only when its contents can be identified, thawed appropriately, and matched to real dates. Containers without labels are stored effort, not available meals. A simple inventory connects every frozen portion to its size, date, reheating needs, and likely use so that new batch cooking does not bury older food.
The system will show what is ready, what needs an additional component, which meals should be used first, and when a frozen meal belongs in the weekly plan. This guide turns that outcome into a repeatable paper workflow rather than a perfect menu that only works once. Start with the information you already have, make the few decisions that reduce the most friction, and leave visible room for the week to change.
Separate complete meals from components
A container of cooked beans and a complete casserole solve different planning problems. Treating both as freezer meals creates unrealistic expectations on busy nights. Label each item complete meal, main component, side, ingredient, or snack. Note what must be added before it can become a meal.
For example, soup may need only bread, while frozen cooked chicken may require vegetables, a base, and sauce. On your planner, write the item type beside its name and add the most likely companion. Review that note at the end of the week so the next plan reflects what actually happened rather than what you hoped would happen.
- Count actual servings.
- Identify items that need no further cooking.
- Keep raw and ready-to-eat categories clear.
Record dates and a use-first order
Without dates, people repeatedly choose the easiest-to-see item while older food remains underneath. A use-first order makes rotation a planning decision. Record the freeze date when known and place older or more fragile items higher on the inventory. Follow appropriate storage guidance for the specific food.
For example, two similar soup containers can be numbered so the older one enters next week's plan first. On your planner, add a visible use-first mark and place the physical item where it can be reached. Review that note at the end of the week so the next plan reflects what actually happened rather than what you hoped would happen.
- Do not guess safety from appearance alone.
- Update the list when an item moves or is used.
- Keep labels readable through condensation.
Write thawing and reheating instructions now
A frozen meal can still fail on a busy day when nobody knows whether it needs overnight thawing, oven time, or an additional sauce. Record the safe preparation method when the item enters the freezer. Include container changes, added liquid, or finishing ingredients that would otherwise be forgotten.
For example, a casserole may need overnight refrigerator thawing, while soup may reheat from frozen with a small amount of water. On your planner, use short instructions that another household member can follow. Review that note at the end of the week so the next plan reflects what actually happened rather than what you hoped would happen.
- Include approximate cooking or reheating time.
- Follow food-specific safety guidance.
- Note any garnish or side stored elsewhere.
Schedule freezer withdrawals every week
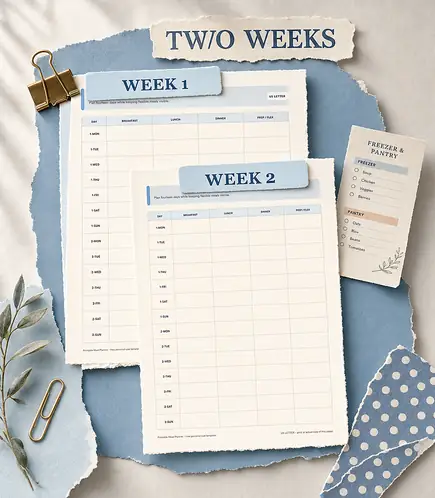
An inventory without planned use merely documents accumulation. Regular withdrawals keep space available and convert past effort into present time savings. Place at least one freezer meal or component on the weekly plan. Choose it for a night where its preparation profile is genuinely helpful.
For example, a complete frozen dinner may fit a late meeting, while frozen beans may support a relaxed weekend cooking project. On your planner, write both the serving date and any required thaw date. Review that note at the end of the week so the next plan reflects what actually happened rather than what you hoped would happen.
- Match serving count to the household.
- Add fresh sides to the grocery list if needed.
- Remove the item from inventory after use.
Make deposits with a named purpose
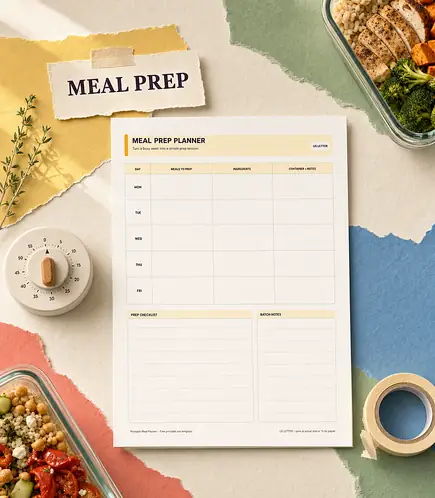
Doubling every recipe can fill the freezer with food that is technically useful but not wanted. A deposit should answer a future need. Before batch cooking, choose the portion count and likely use window. Freeze food in sizes that match actual household meals rather than the original pot.
For example, a household of one may freeze soup in single portions, while a family may need one dinner-size container plus two lunch portions. On your planner, assign the new item an inventory line before placing it in the freezer. Review that note at the end of the week so the next plan reflects what actually happened rather than what you hoped would happen.
- Confirm freezer space first.
- Cool and package food appropriately.
- Use containers that match the planned portion.
Audit visibility and useful capacity
A completely full freezer may provide less practical value than a partly empty, well-rotated one. Visibility and access are part of storage capacity. Once a month, remove completed lines, combine categories, and identify food that needs priority. Preserve some open space for cooling and new planned portions.
For example, grouping breakfast items separately from dinner portions can prevent small packages from disappearing beneath large containers. On your planner, note which category is overstocked and pause new deposits there. Review that note at the end of the week so the next plan reflects what actually happened rather than what you hoped would happen.
- Keep frequently used items reachable.
- Retire unreadable or outdated inventory entries.
- Do not fill space simply because it is available.
Make the plan work for you
A useful freezer operates like a rotating menu, not long-term hiding space. Label at the moment of freezing, record what completes the meal, and schedule regular withdrawals before adding more. Begin with this one action: work one shelf or drawer at a time, identify every usable meal or component, and record portions and dates before reorganizing anything Keep the completed sheet where you will see it, make one adjustment after the week is over, and reuse the parts that genuinely saved time, money, or attention.